
Although I consider myself to be a feminist and fully intend on continuing to bring my son up to believe that women can do anything that a man can do (if not better!), I find some strange personal satisfaction when I can hang out my washing on a lovely breezy summer’s day, watching it all blowing in the wind!
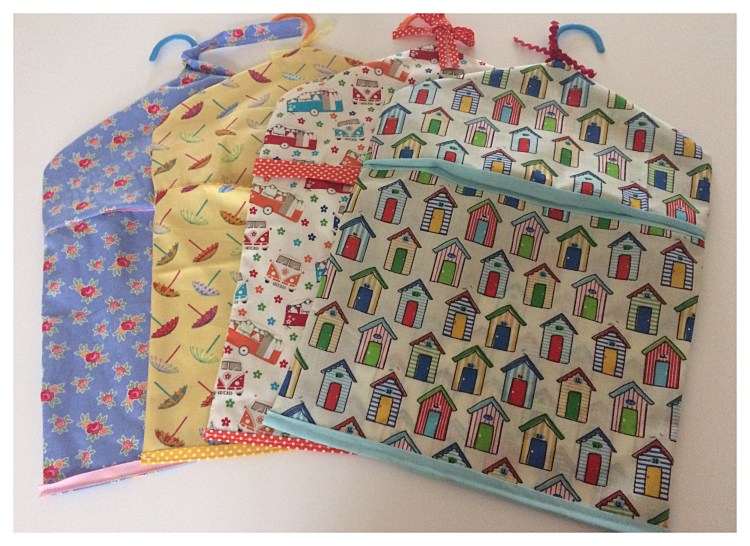
I love my garden which is bright and cheerful. Yes, i’ve made pretty bunting to cover fences and there are matching seat covers with parasol trims, so I thought why not pretty up my peg bag. I don’t think its just me either! All the homestyle magazines keep re-iterating using the garden as another room, a mere extension to you indoor living space. Well, my indoor living space consists of pretty cushions, bunting, Cath Kidston tablecloths, amongst other items, so why not extend out to my garden?
I’m sure I’m not just the only one too! I’m just starting getting into the world of craft markets and have found that peg bags are one of my best sellers. I get people actively searching for the type of old fashioned fabric peg bags that perhaps reminds them of their childhood with favourite granny’s and other nostalgic memories.


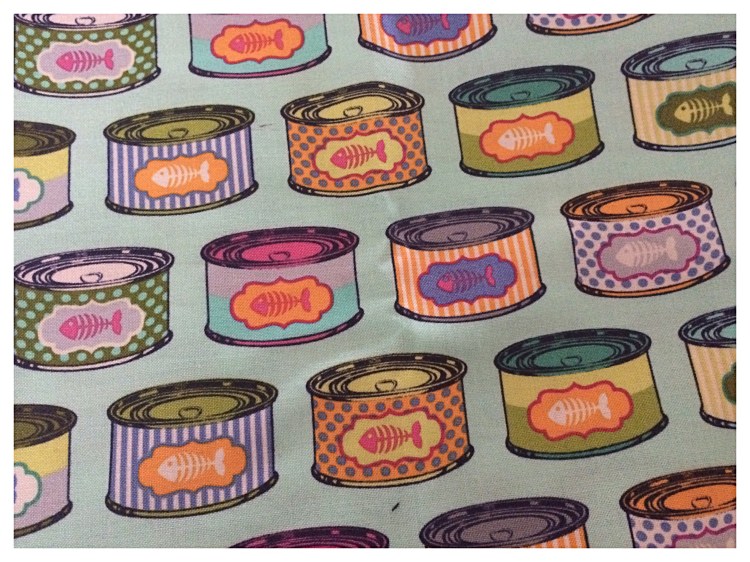
My peg bags are a showcase for both pretty and floral stashes of fabric plus a bit more of an adventurous fabric in a retro style. I picked up a delightful one from my local fabric shop; Cottonpatch, which is part of a cat range and consists of cat food tins. Purrfect!
Peg bags are both useful and functional. If you enjoy your garden why have a boring bland green peg bag that everywhere sells, when you could have a handmade object in your choice of fabric to brighten up your washing line.
Peg bags can also be made out of old clothes – kids clothes, especially girls dresses work really well and can be adapted quite easily. There’s an upcycling project for you!

To start with you need to cut out a paper peg bag template. My template measures 30cm across and 45cm vertically. You can adjust your template to make it smaller or bigger – it’s entirely up to you!
Next, choose your chosen fabric and cut out one template. This is going to be the back of the bag. You could choose to have a different colour/pattern back to front or keep them the same.
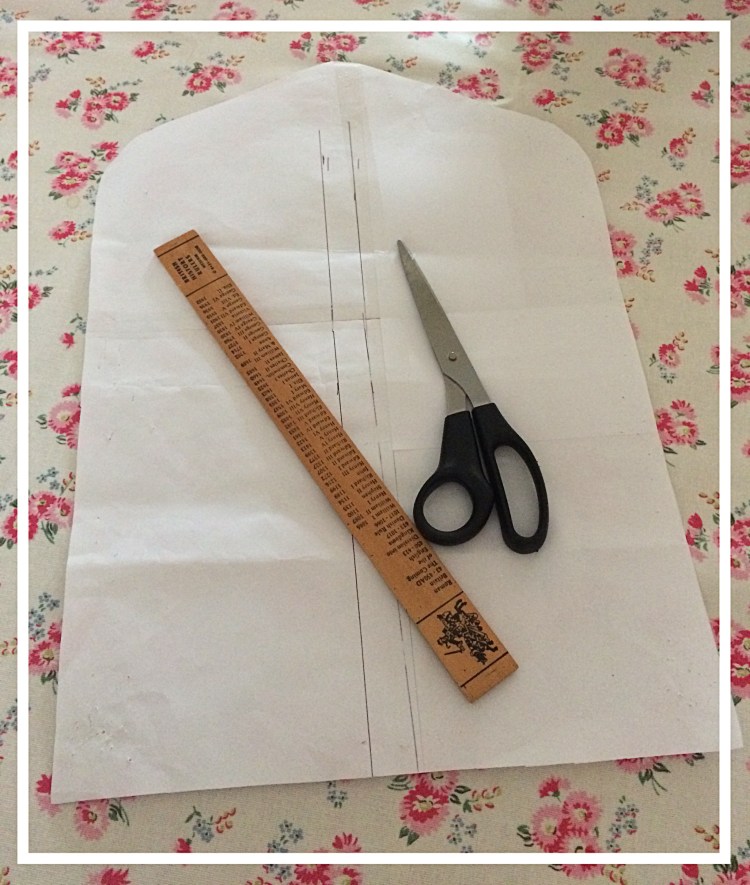
Secondly, you need to cut out the front of the peg bag. This will come in 2 parts as you need to leave a gap for the pegs! Following my template you need to cut out the top of the bag. Mine measures 30cm across and 18cm down from the point of the top, so you are left with a sort of a triangle shape. Next,, cut out the bottom of the front section, this roughly measures 24cm down and 30cm across.
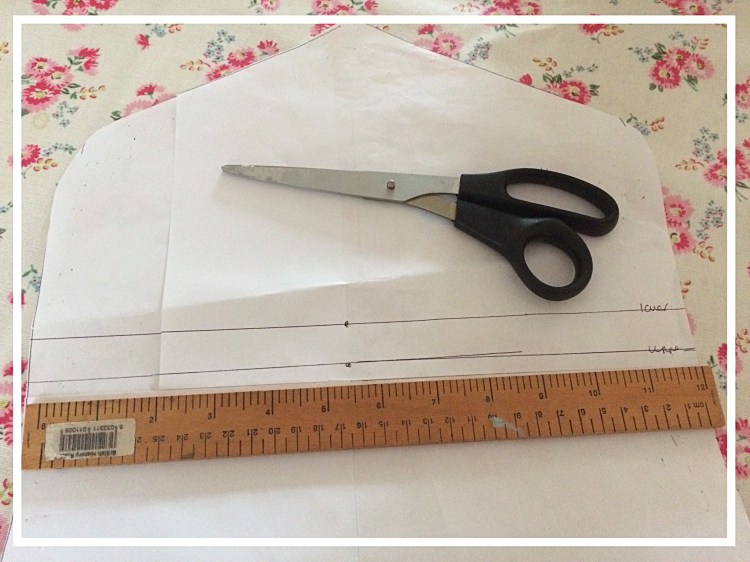
Next you need to bind the bottom edge of the front top and the front edge of the front bottom section. You can choose matching binding or something contrasting for fun! When you have bound the edges, Place the 2 parts right side together and pin. Measure 7cm from either side (I mark with a fabric pen) and sew from the edge to the 7cm mark. Do this on both sides and you will be left with a nice gap big enough to put pegs through.
Next, with right sides together, sew around the whole of the peg bag, ensuring that you leave a small gap at the very top where the coat hanger is going to poke out of. I find marking this gap with pins reminds me not to sew completely all the way round.
Turn the peg bag the right way round and finish off by adding a strip of binding or ribbon to the bottom of the peg bag. Insert your hanger and hey presto, you have a unique peg bag!
You can find all these peg bags on my Etsy shop. I also provide custom order service so if you fancy a particular fabric or style and colour, then just get in touch with me.
https://www.etsy.com/shop/Lizzyshomemade

